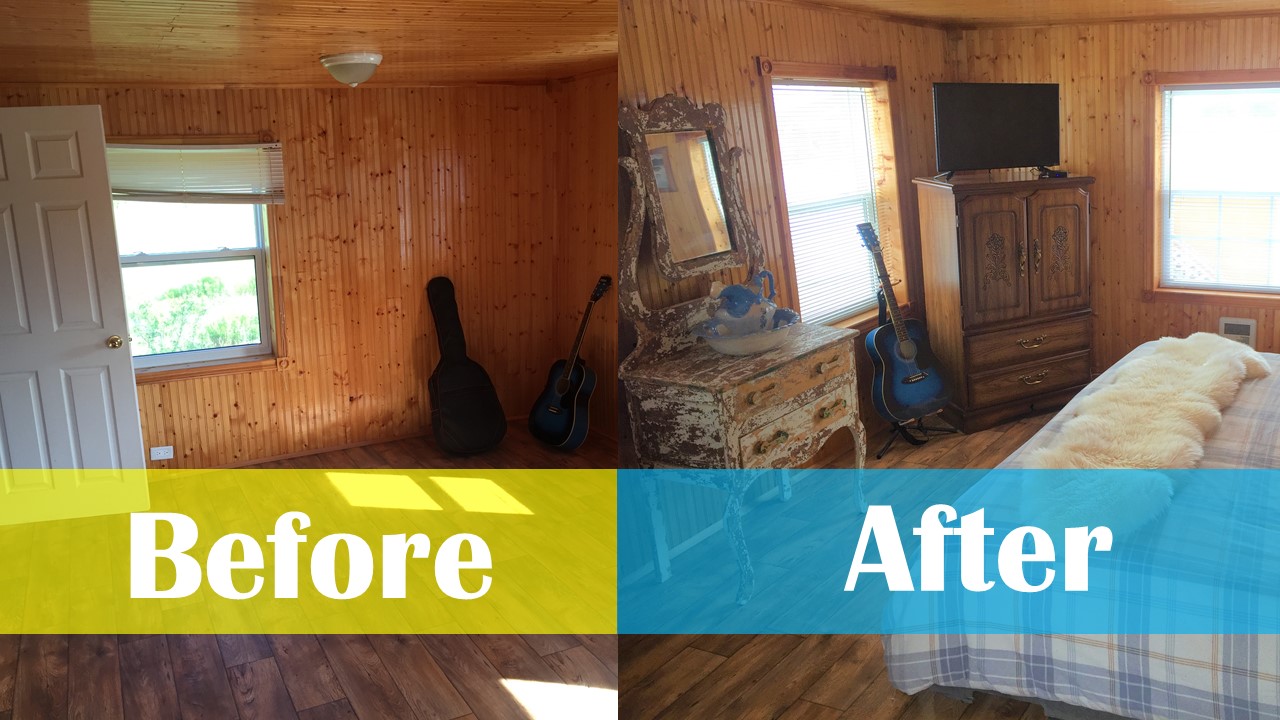
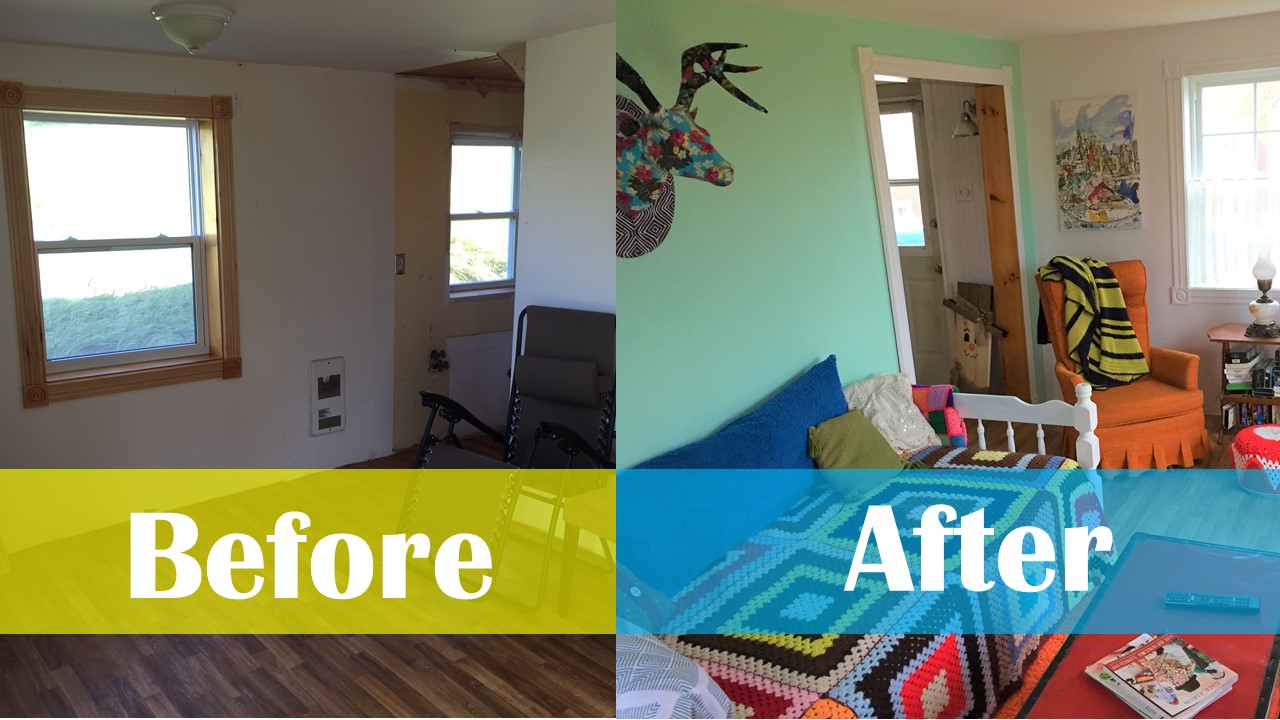
Another in the series of us keeping costs WAY WAY down in COMPLETELY renovating, decorating, and furnishing an old haunted country house with just $8,000.
How, you might add? In many ways which we’ll outline in an upcoming post, but most prominently, continuing to find NEW life in OLD pieces.
Also another in the series of HOW TO FUCK UP A DIY BECAUSE WE HAVE ABSOLUTELY NO IDEA WHAT WE’RE DOING BUT STILL ABSOLUTELY KILL IT!!
#POSITIVE THINKING
As you may remember we already showcased making a pallet bed and a daybed out of unwanted house goods.
In today’s episode, we outline how we completely screwed up in refurbishing an old vanity table, but ended up with a mistake that looked FAR better than we had ever planned.
An amazing find!
We start with having continued our rummaging through our families’ homes for unwanted furniture and accessories (Cuz ya know, why pay for stuff…) and found an old vanity dresser in a shed.
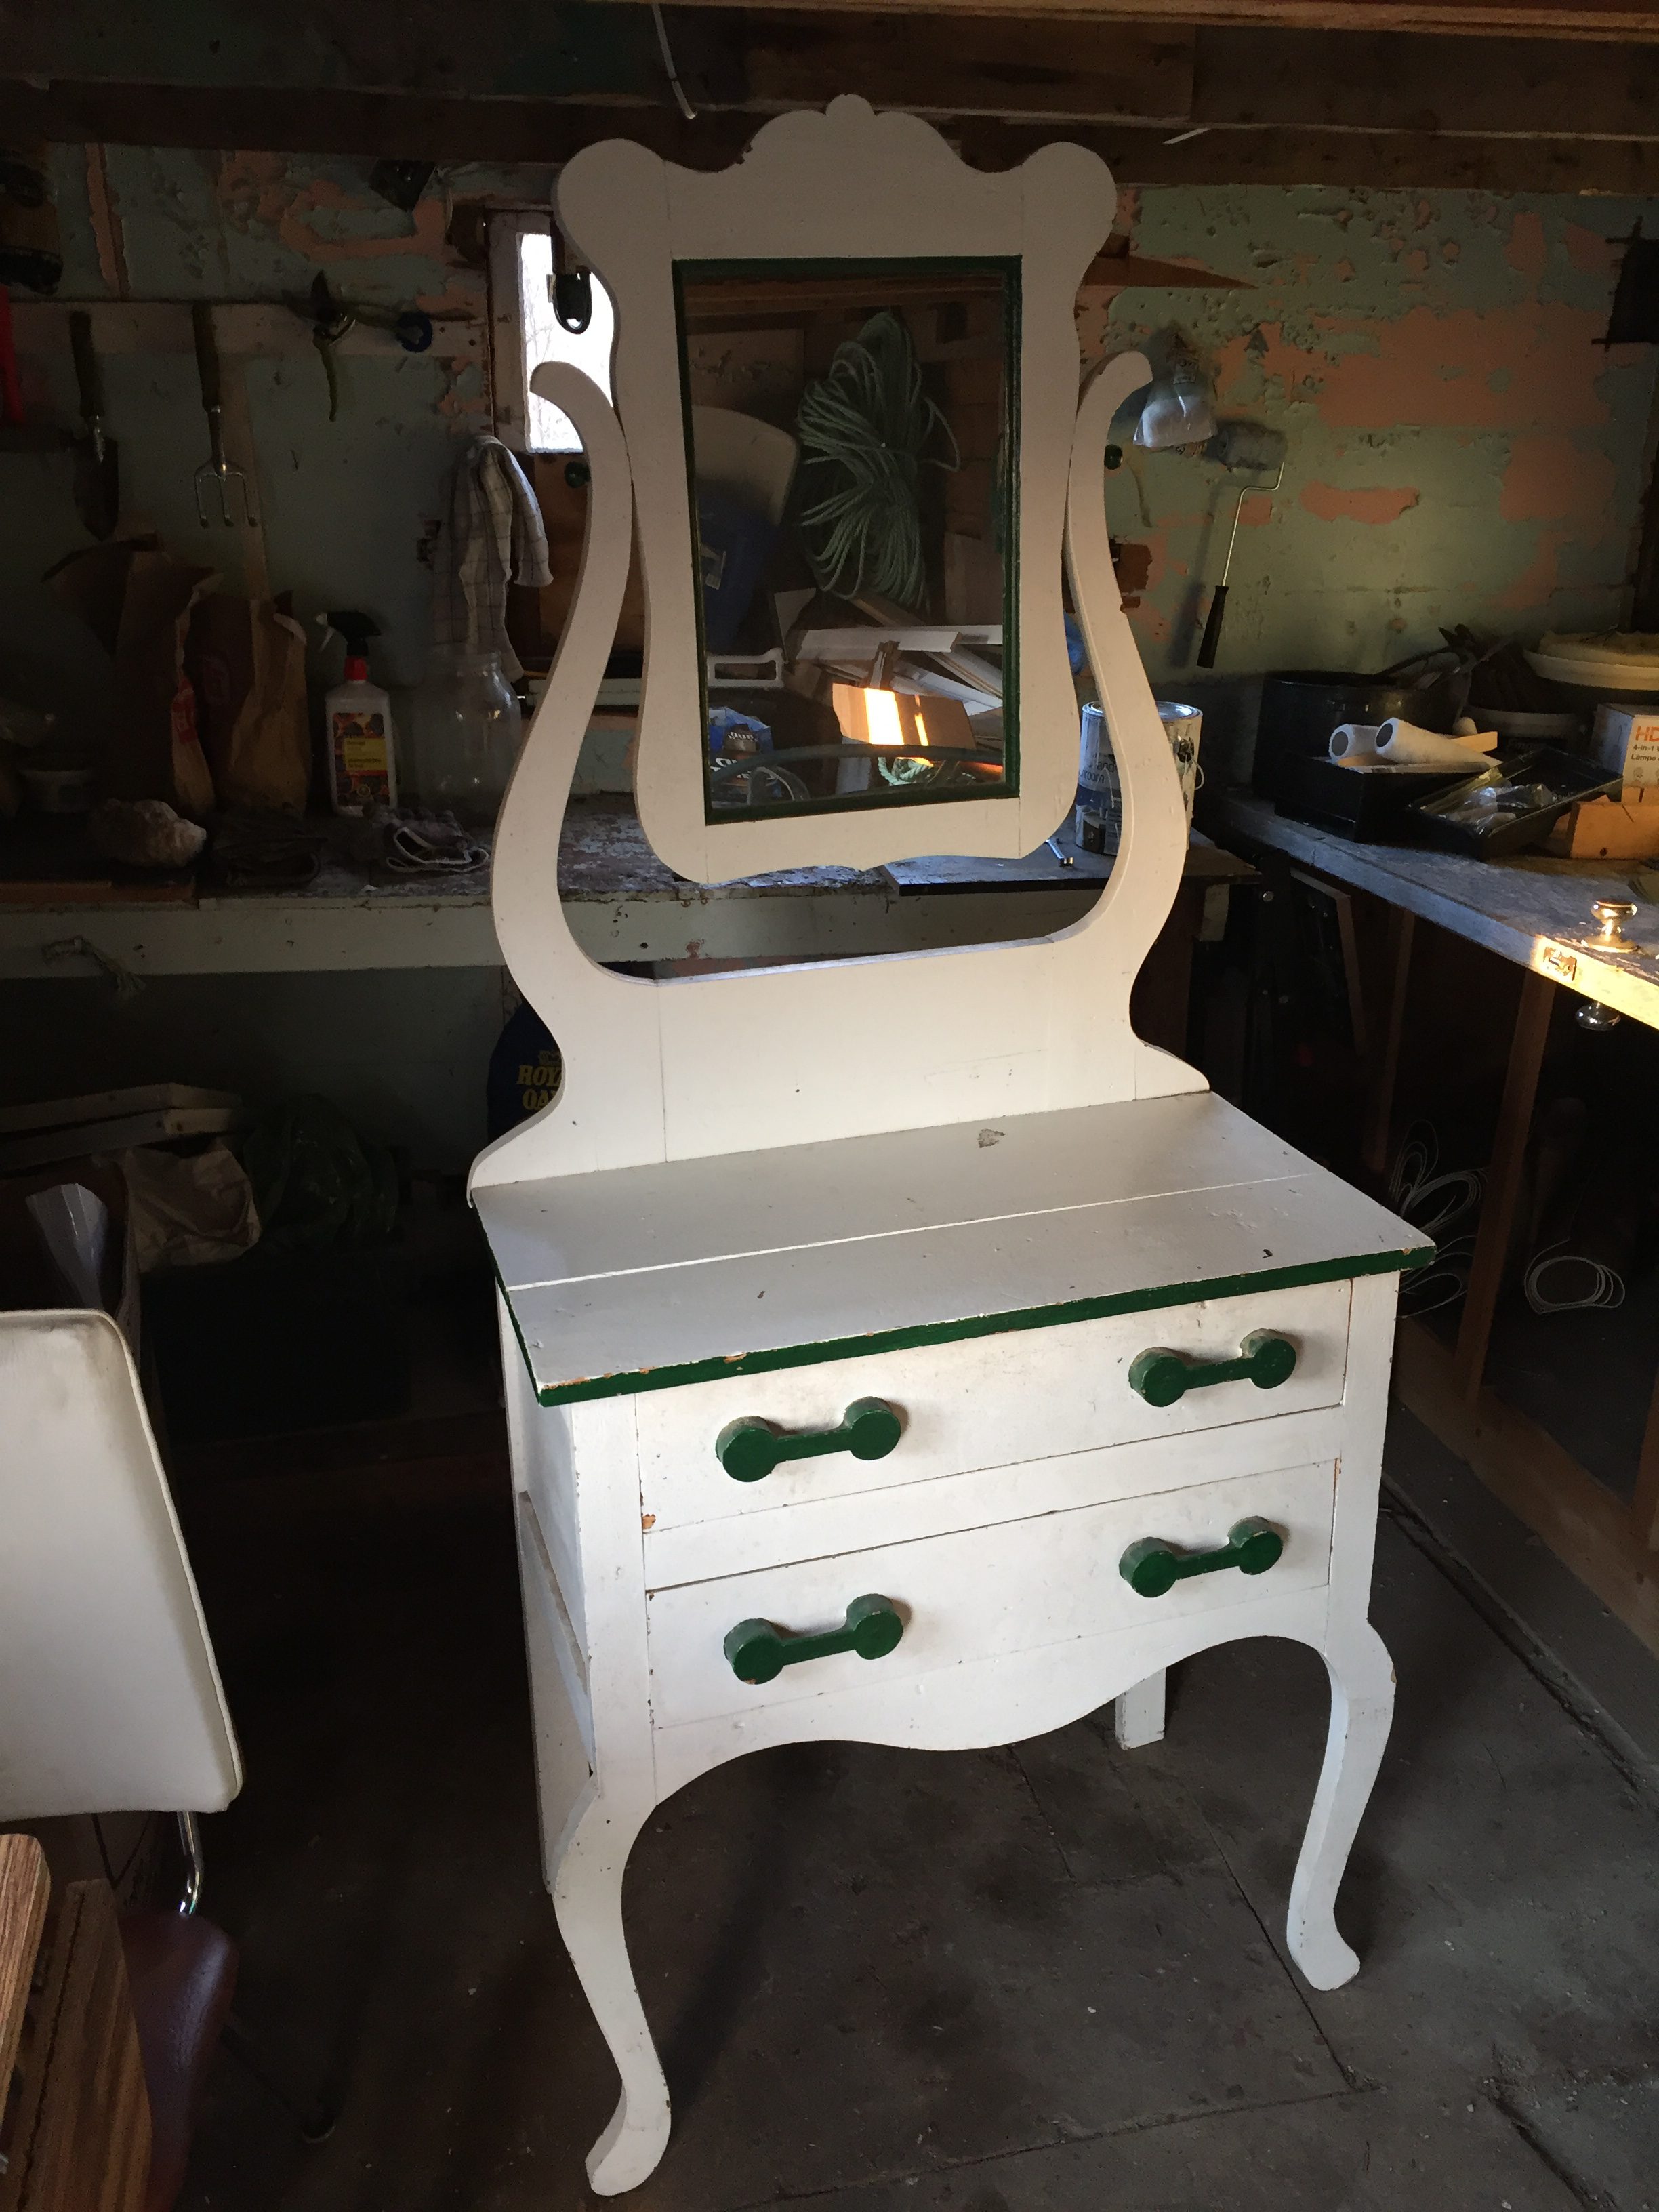
It was actually owned by Larry’s great grandmother and somewhere over 80 maybe even 100 years old. In impeccably good condition for how old it was as it was obviously a well-loved piece. Miraculously it even survived as part of the childhood room of Larry’s sisters with barely a scratch!
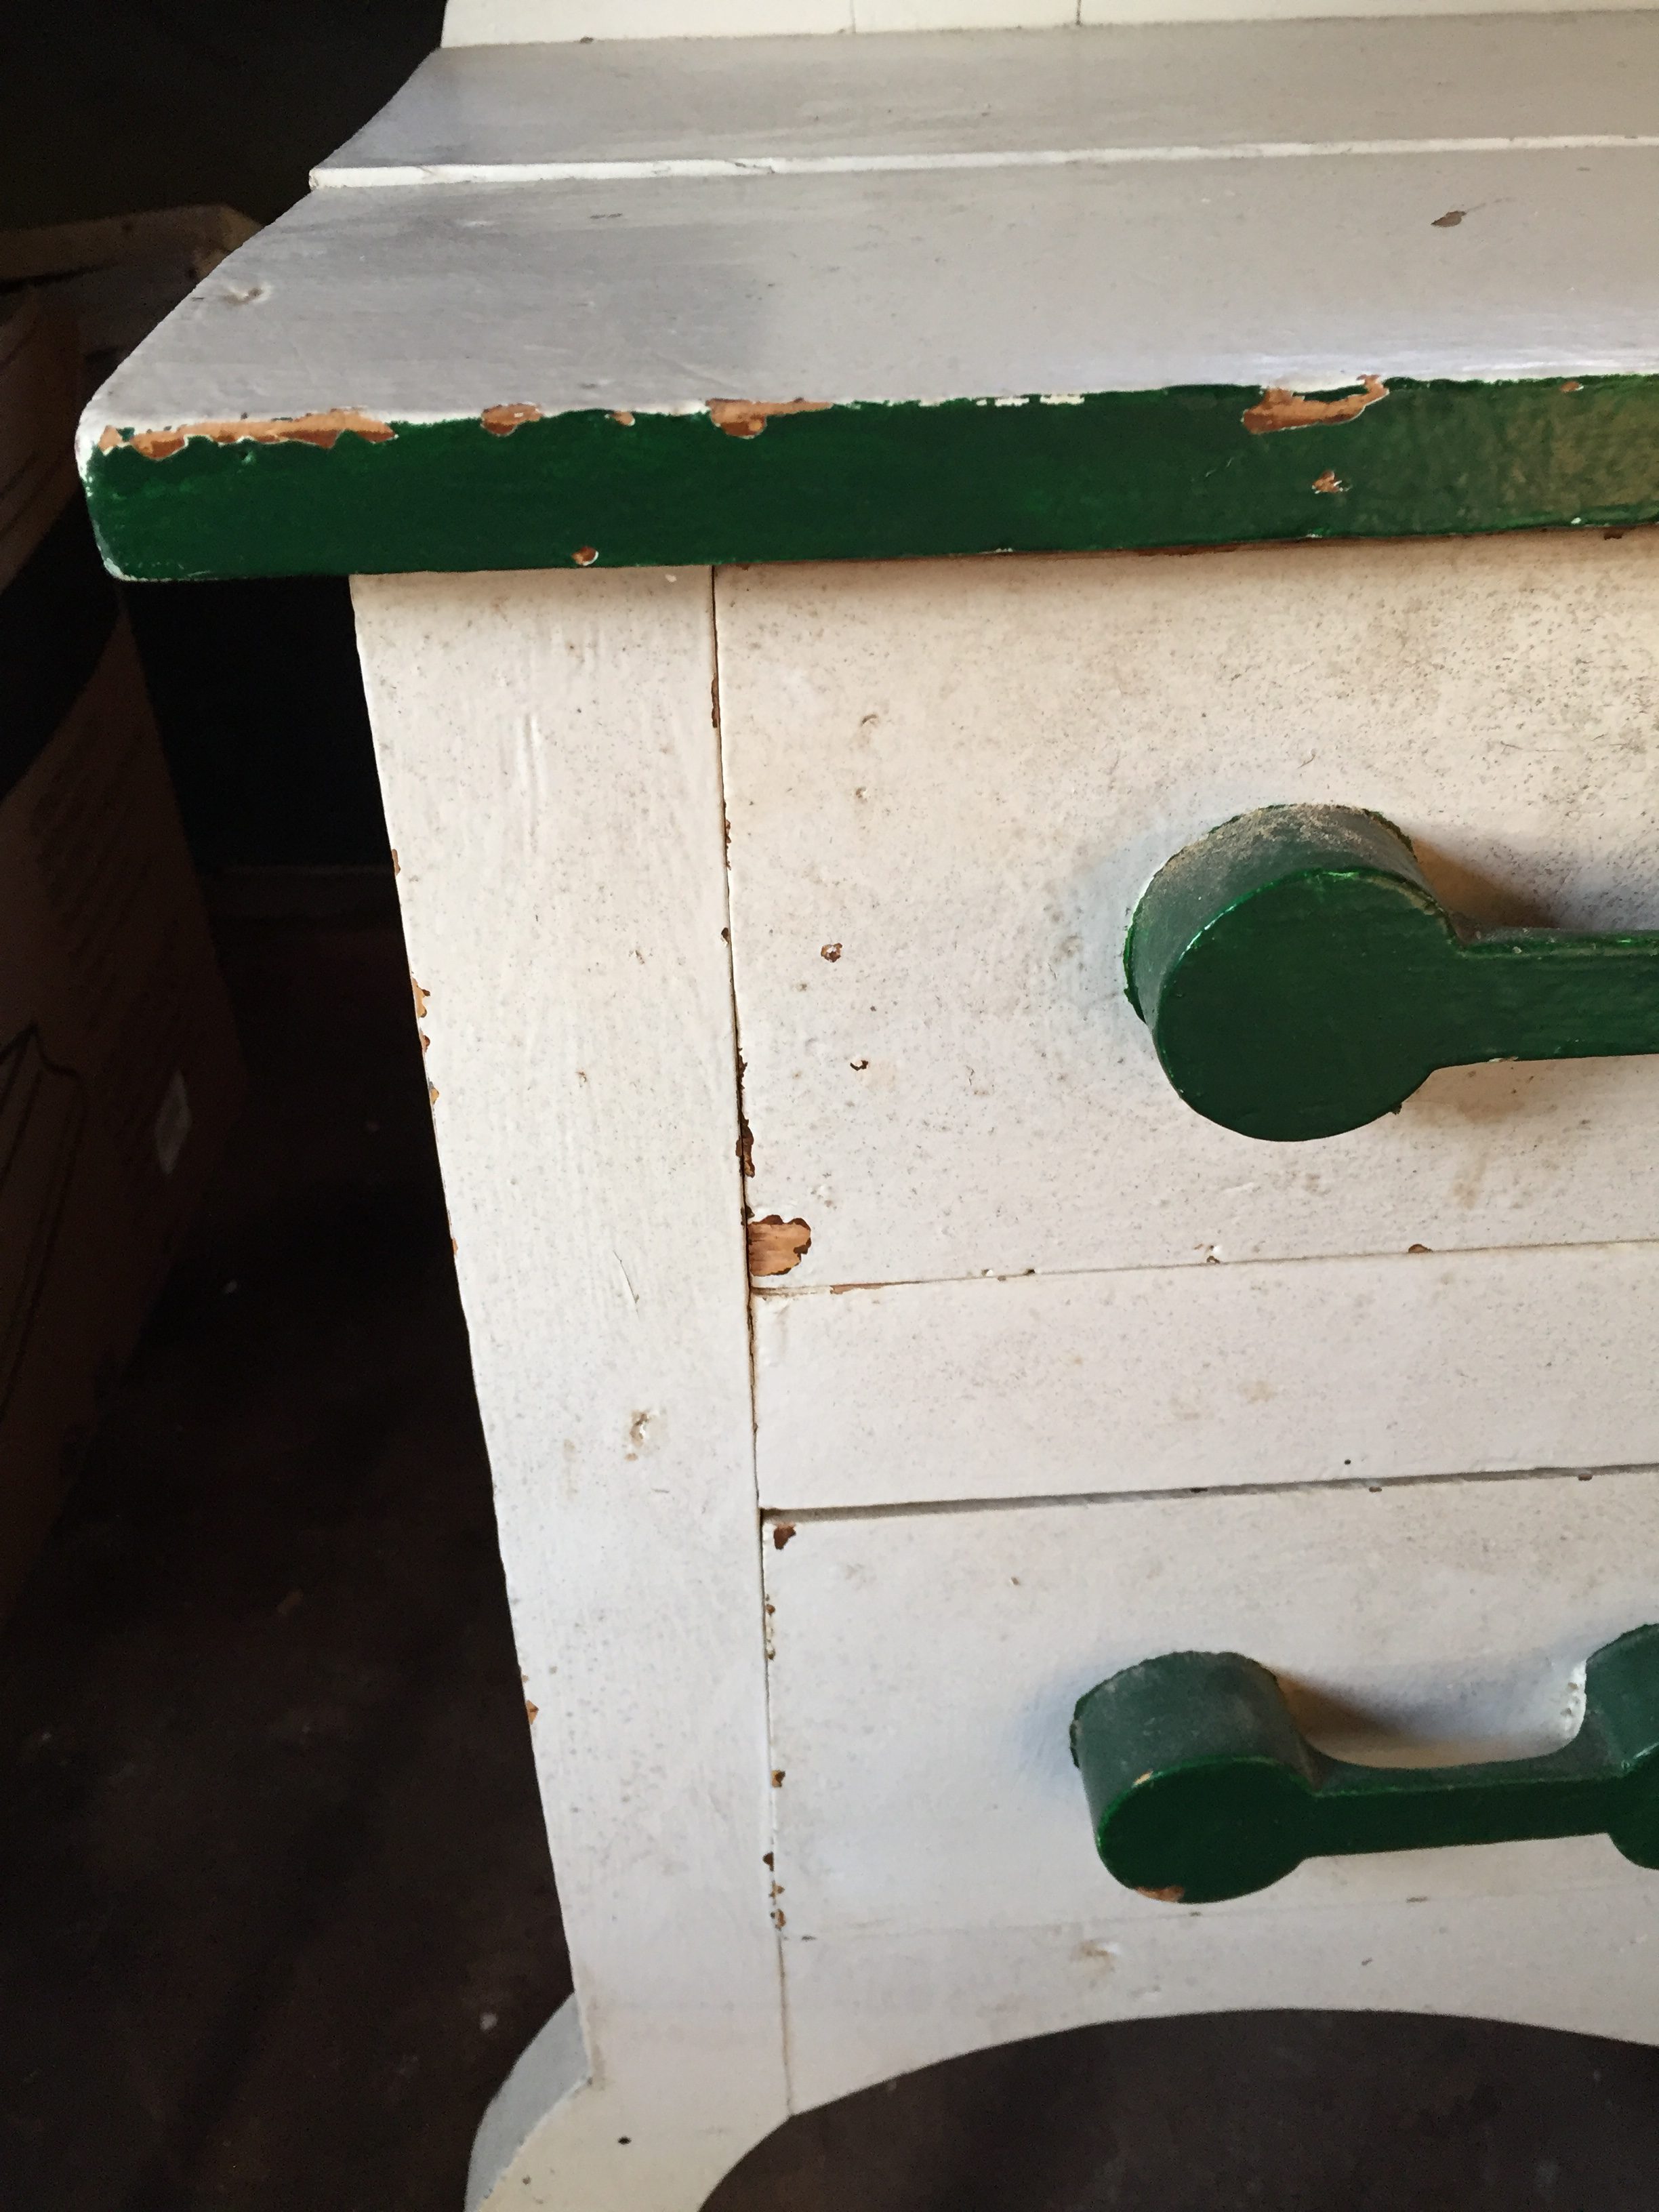
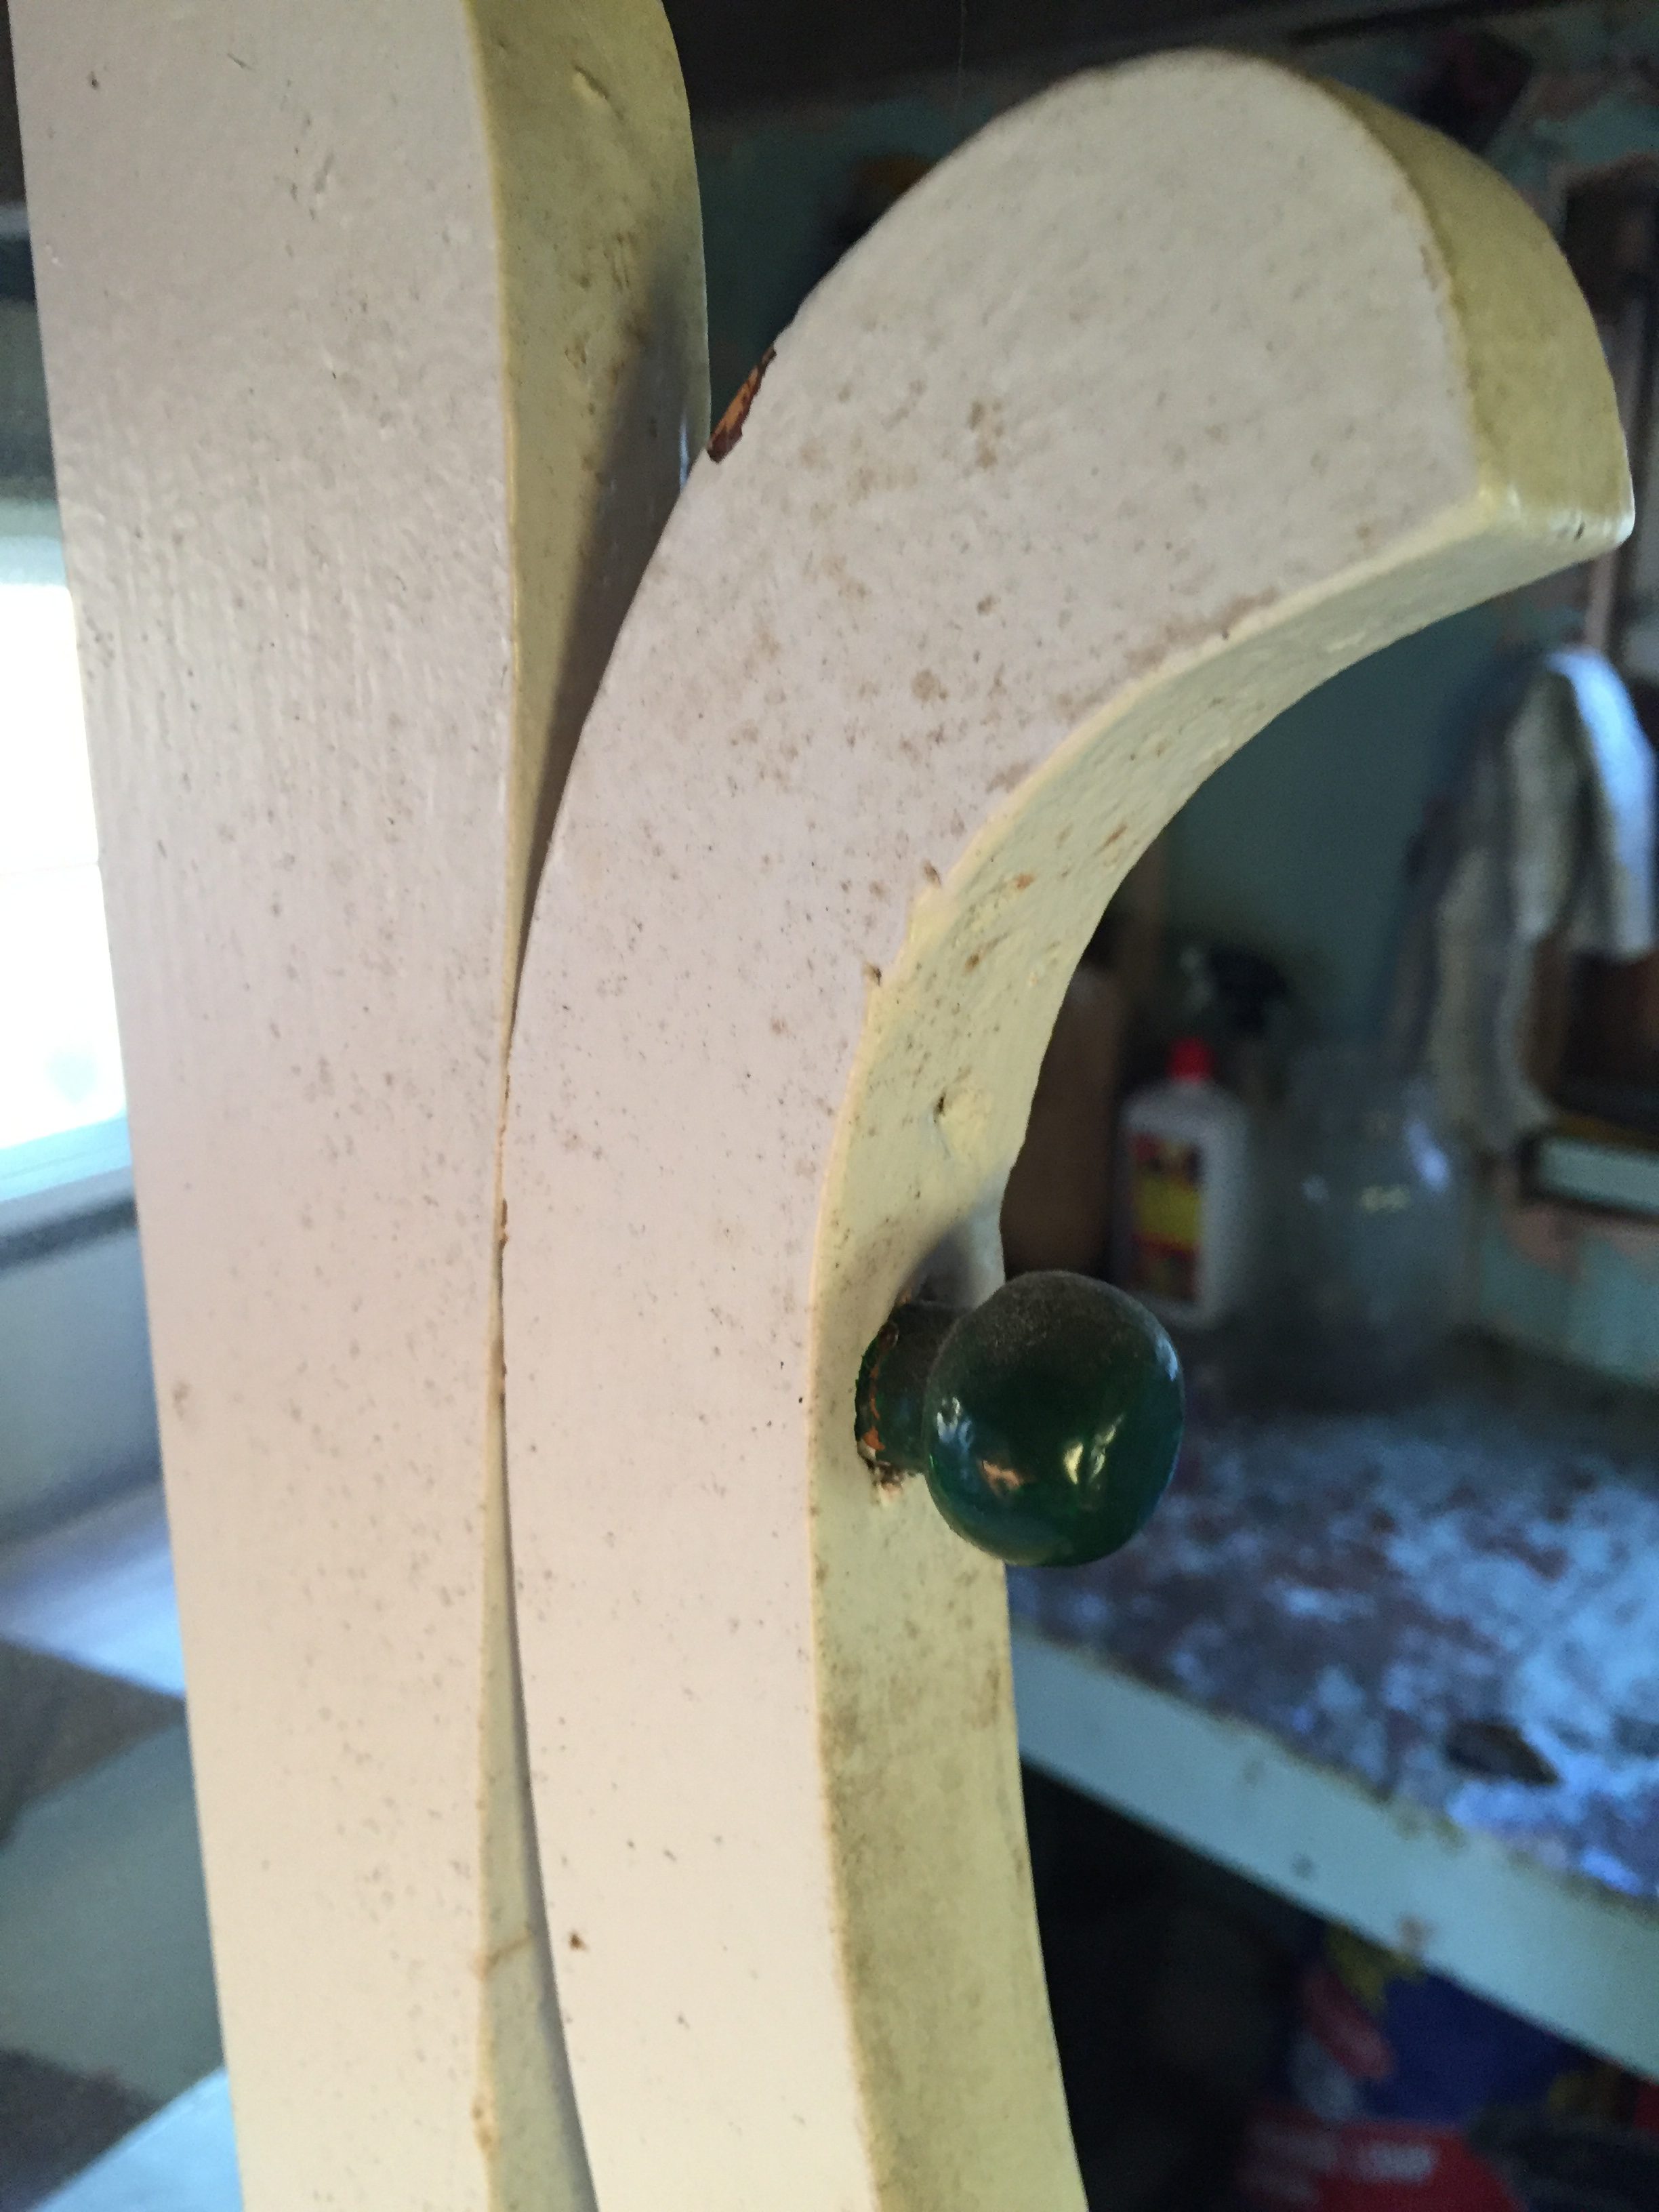
The fact that I find that amazing is an obvious testament to either the gentleness of Larry’s family or how much of a terror I was as a kid and that NOTHING escaped my room in one piece without being covered in knicks, irremovable stickers and/or permanent marker.
…we’ll call it an even draw…
ANYWAYS, like can happen to many family furniture pieces, over the years and generations, it had gone through so many changes in layers of stains and paint, it had come to temporarily lose its ability to fit into the décor of many sophisticated modern homes.
But we knew IMMEDIATELY that it would fit perfectly into the old home style we were planning our country harbour house to have.
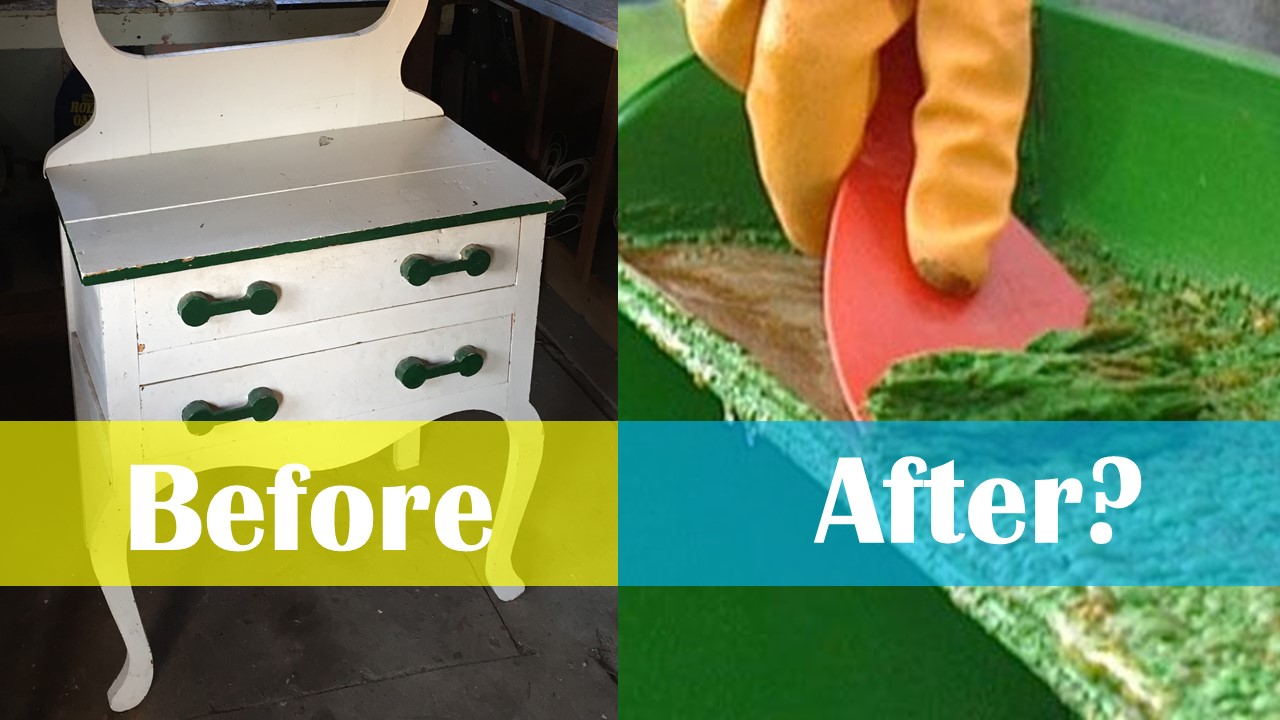
Paint stripping, the obvious solution…
Our goal was to paint strip down to its original wood. Wood that we assumed would be so aged something like reclaimed barn wood (Totally in style right now). Or something like that, but hey what do we know!
So we set to paint stripping the first piece of furniture we had ever attempted to do so.
FYI: This is an example of how you’re supposed to do it.
The summary process is that you slather the item in paint stripper, from our experience the stronger the better, wait 20 minutes and scrape off the excess paint. This should be repeated 1-2 times. Then you use turpentine to clean down the piece and finish by sanding.
Life is NEVER so easy…
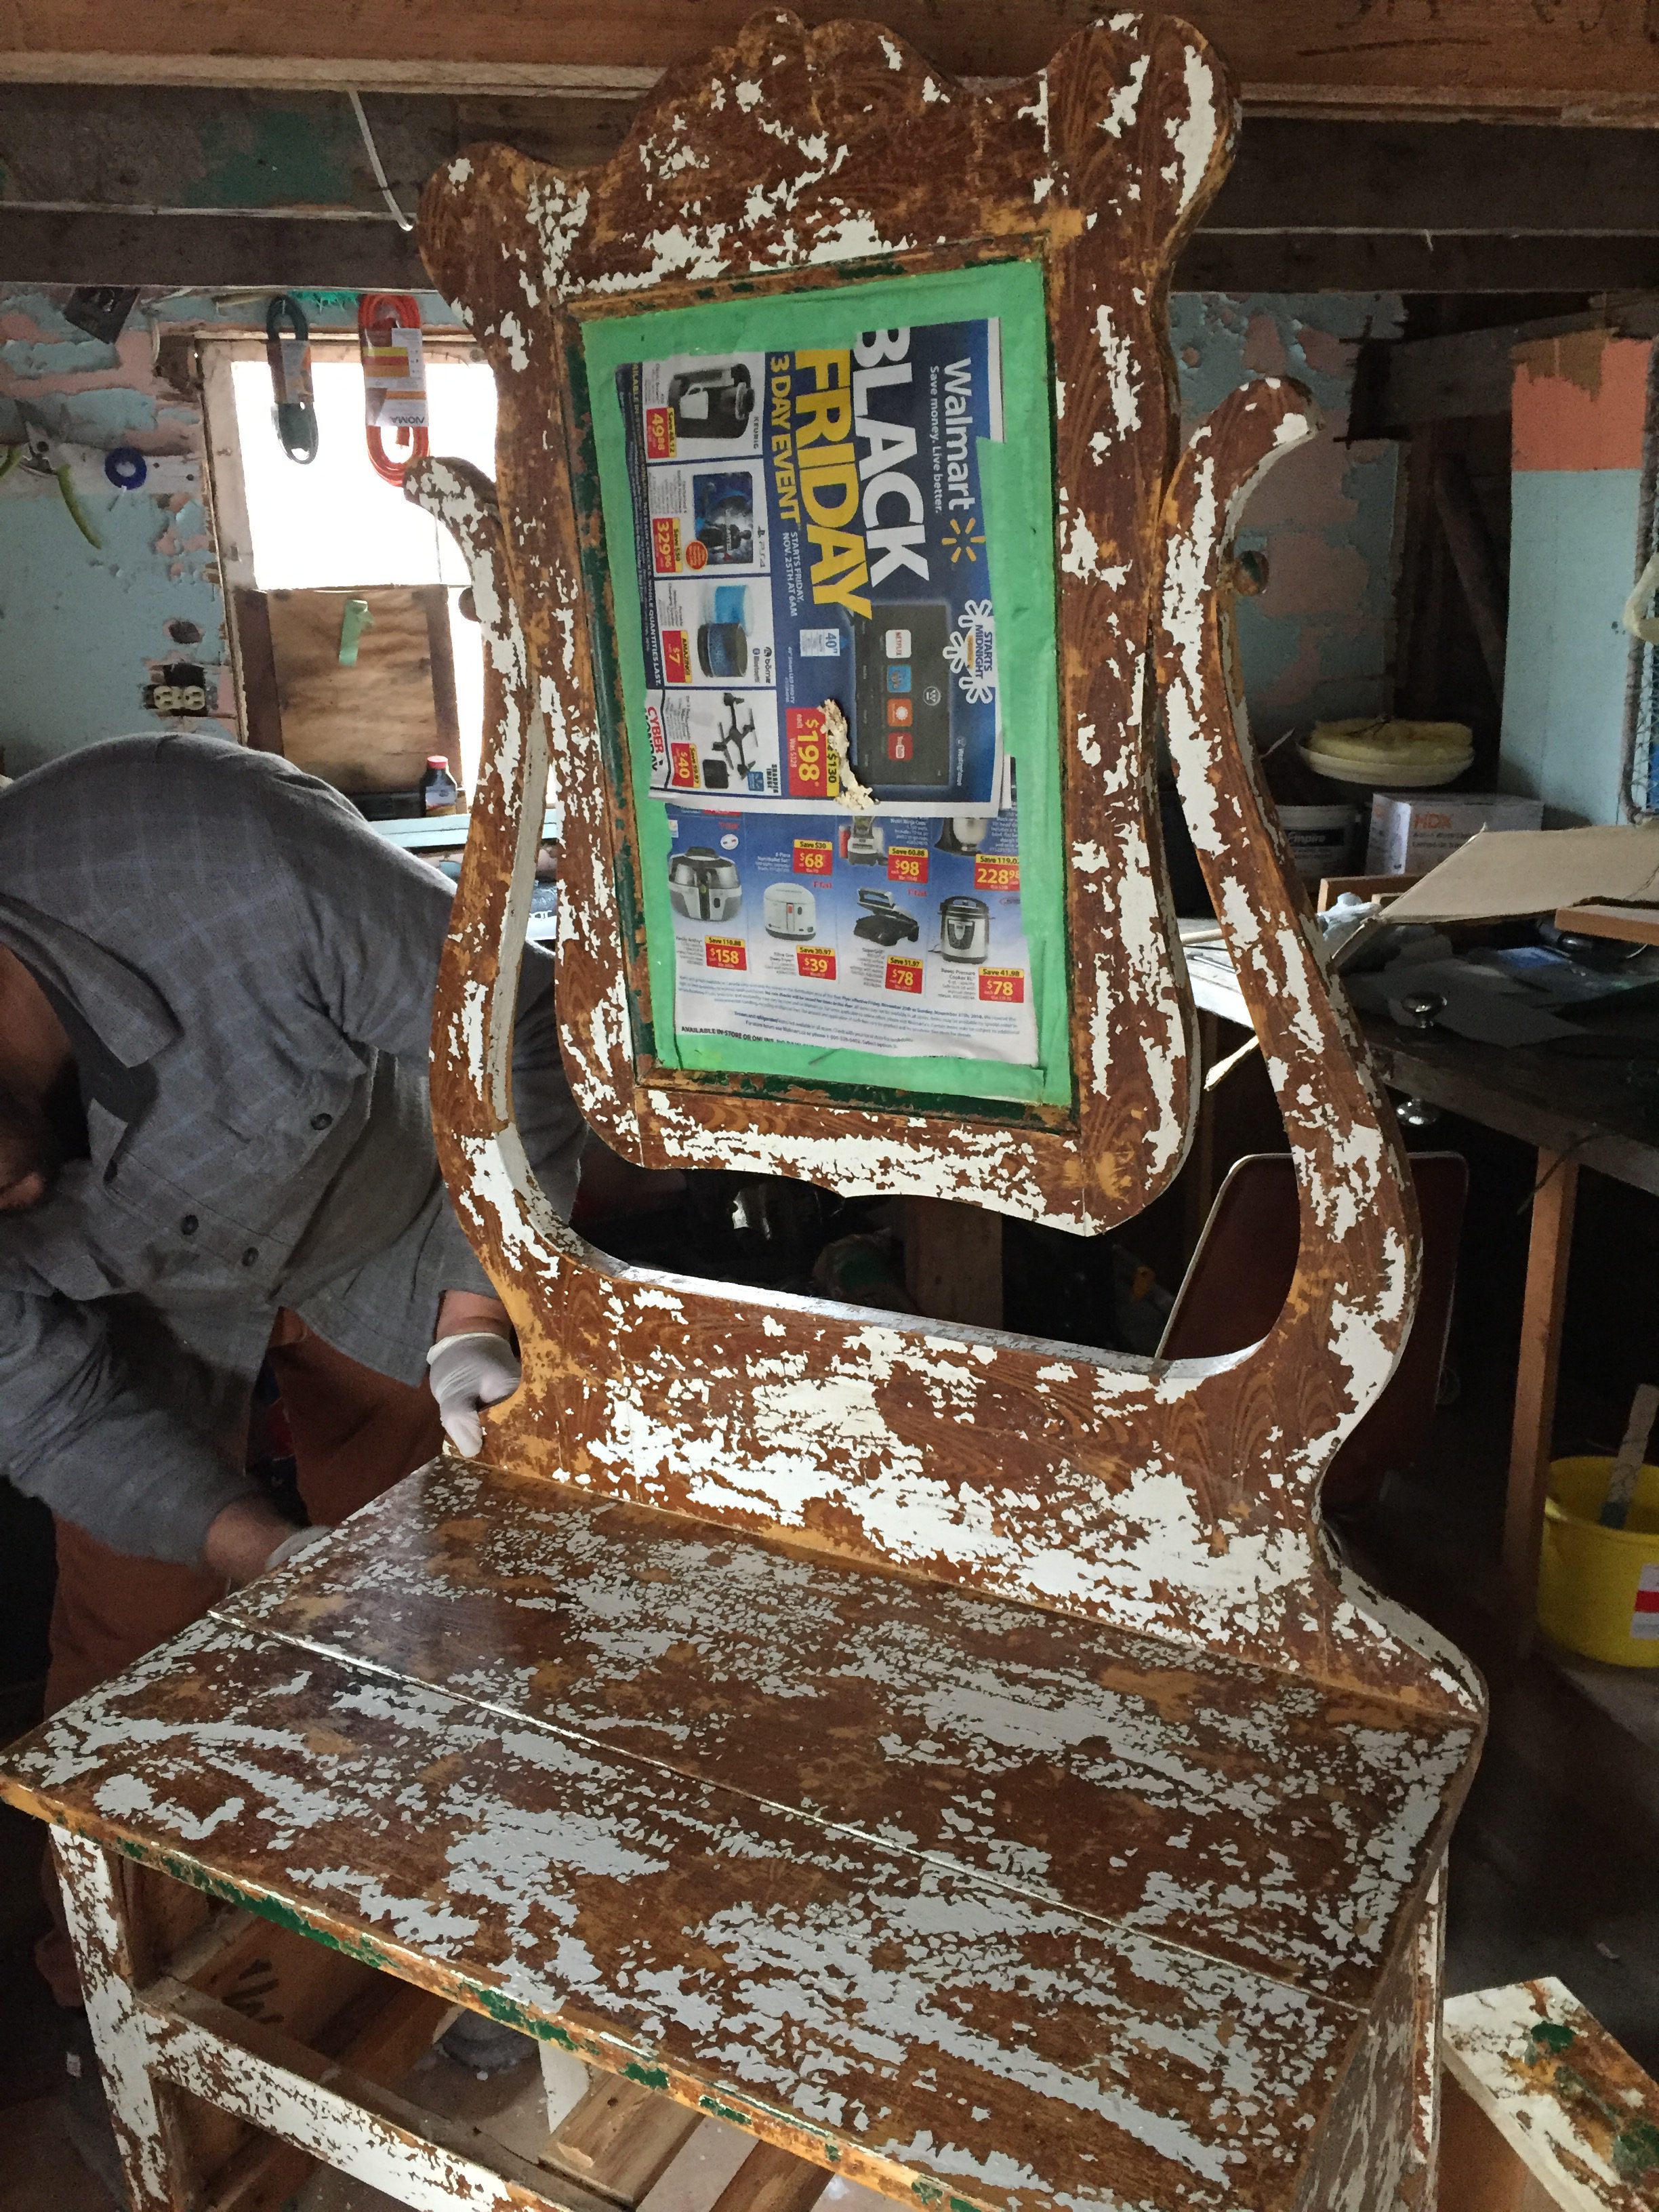
1-2 times was a huge underestimate for us. We tried to strip 6 TIMES!! And were still proving unsuccessful by a country mile (whatever that means) to completely strip the vanity of layers of white and green paint, and even an old layer of natural wood pattern rolled on style stain which actually looked pretty cool.
But what we came to realize was that the wood that WAS showing through, was like BRAND NEW.
Bright, yellow pine that if was successfully paint stripped completely, would have looked like it was made yesterday and lost most of its old charm.
The silver lining…
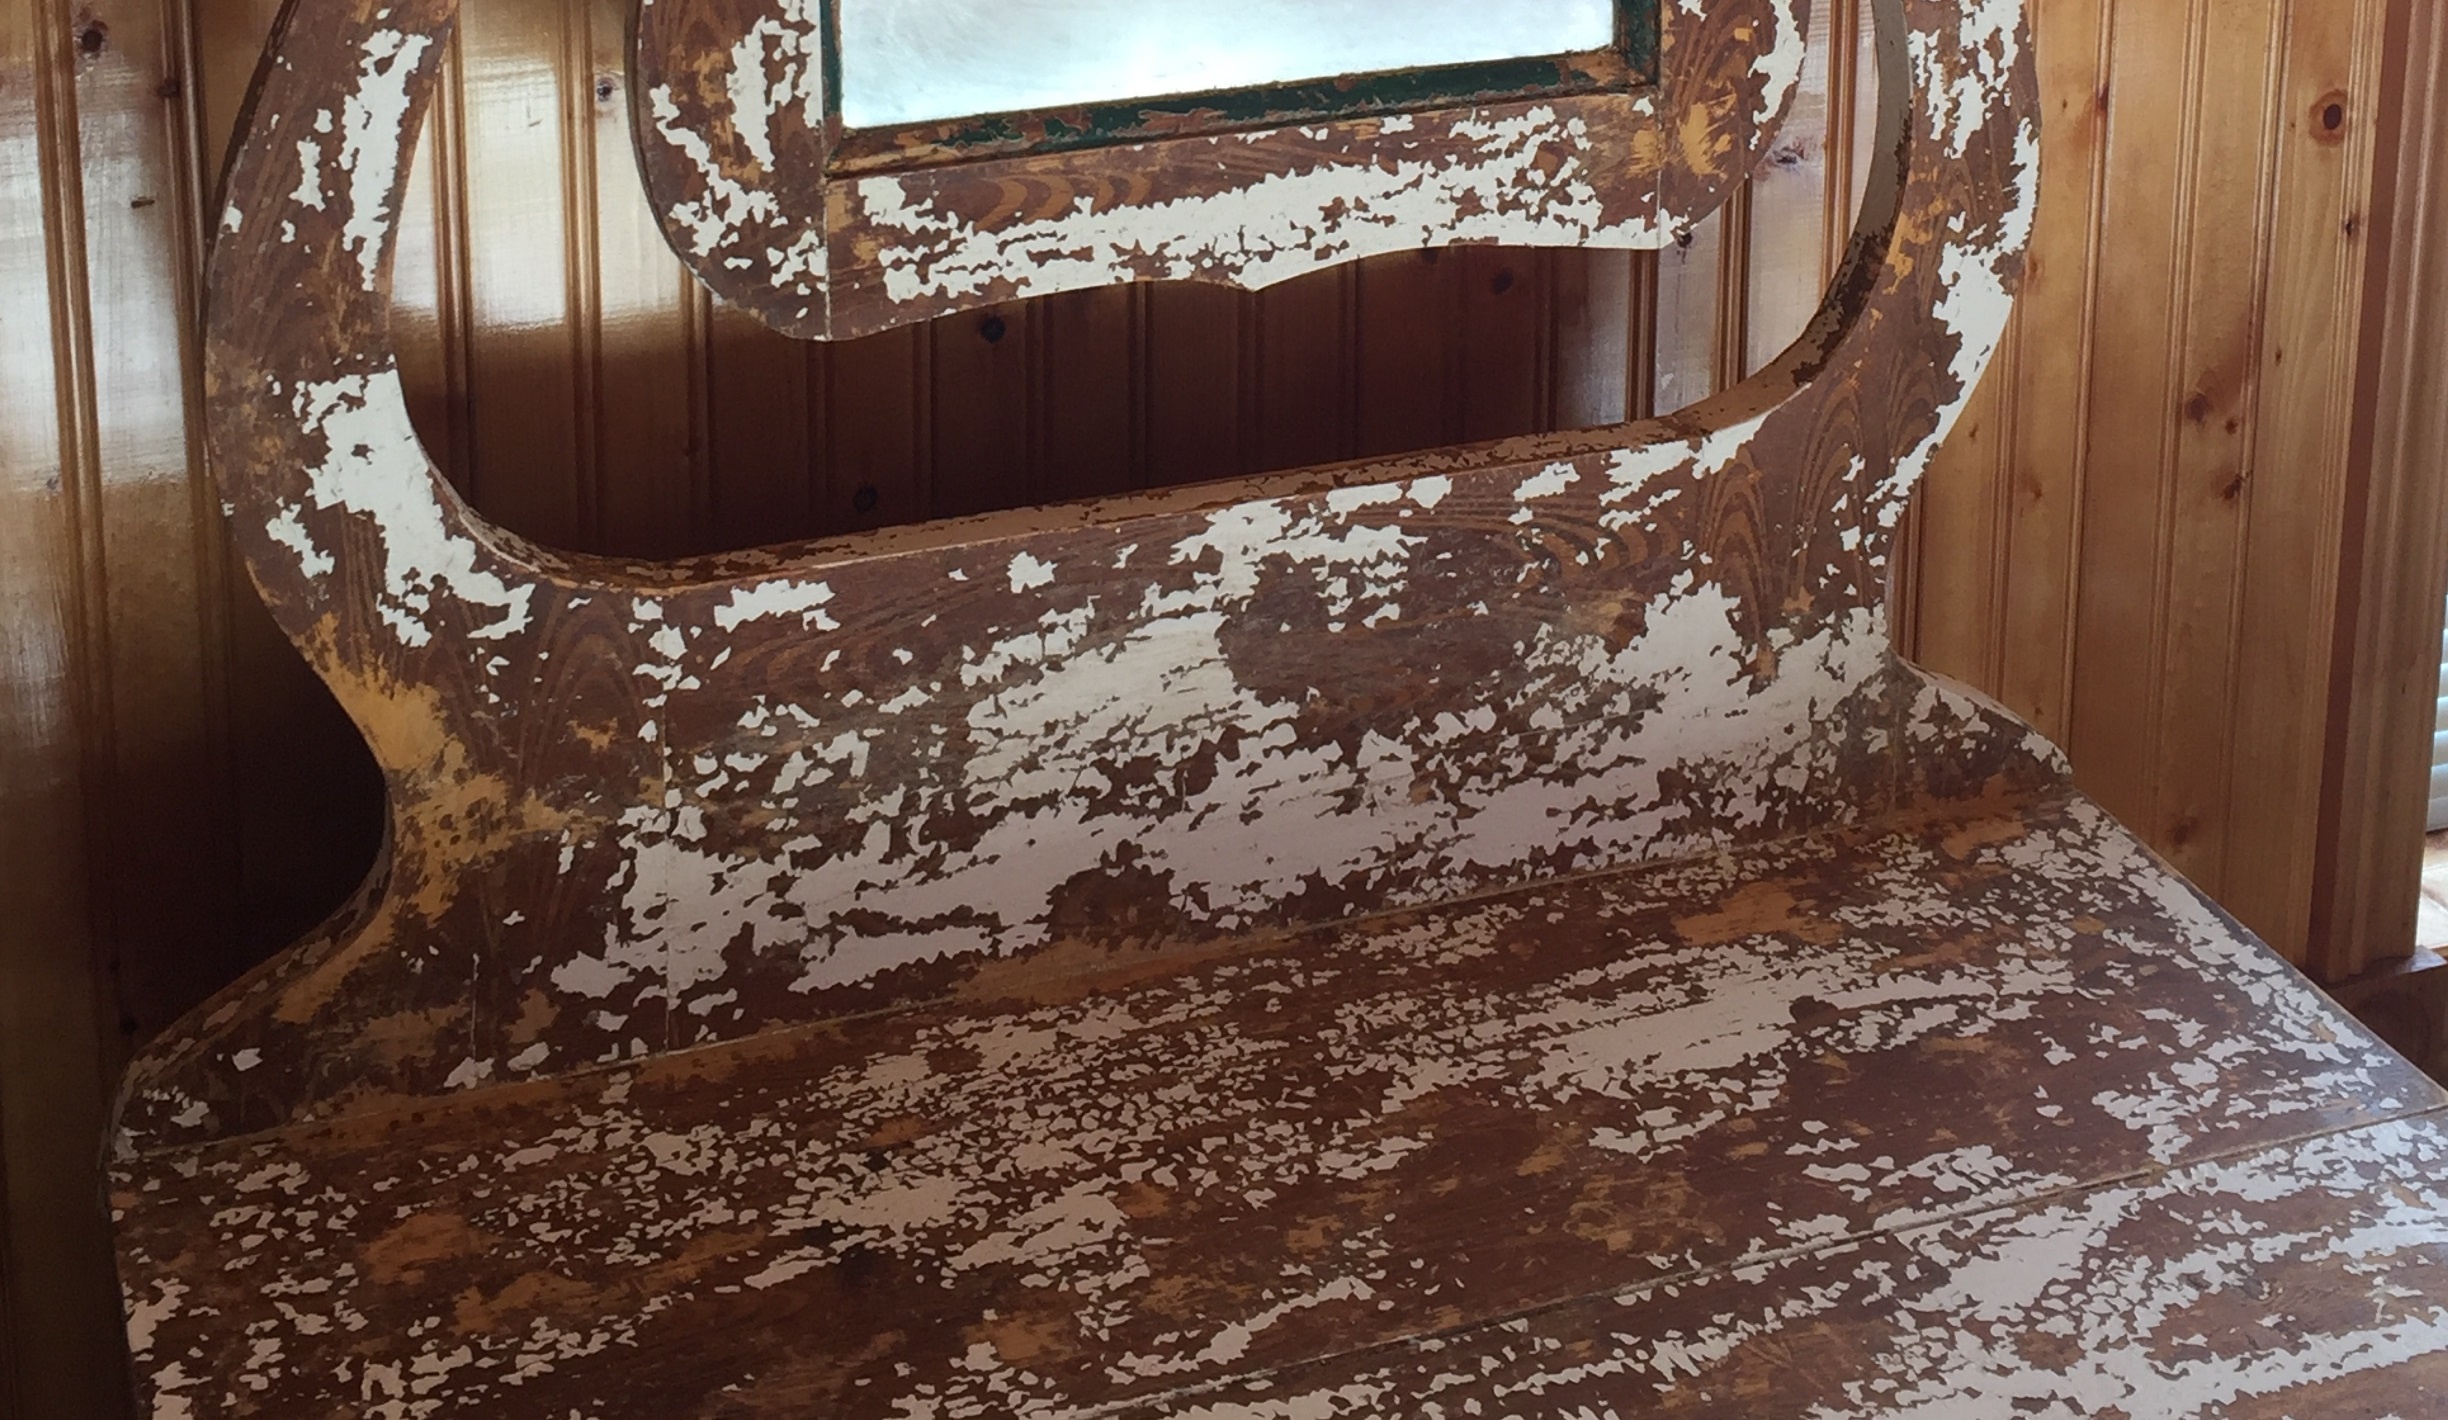
In the end we actually realized…we loved the way it looked half finished. All the generations of wood and painting styles showing through in unkempt patches like it was left out in the woods to rot for decades.
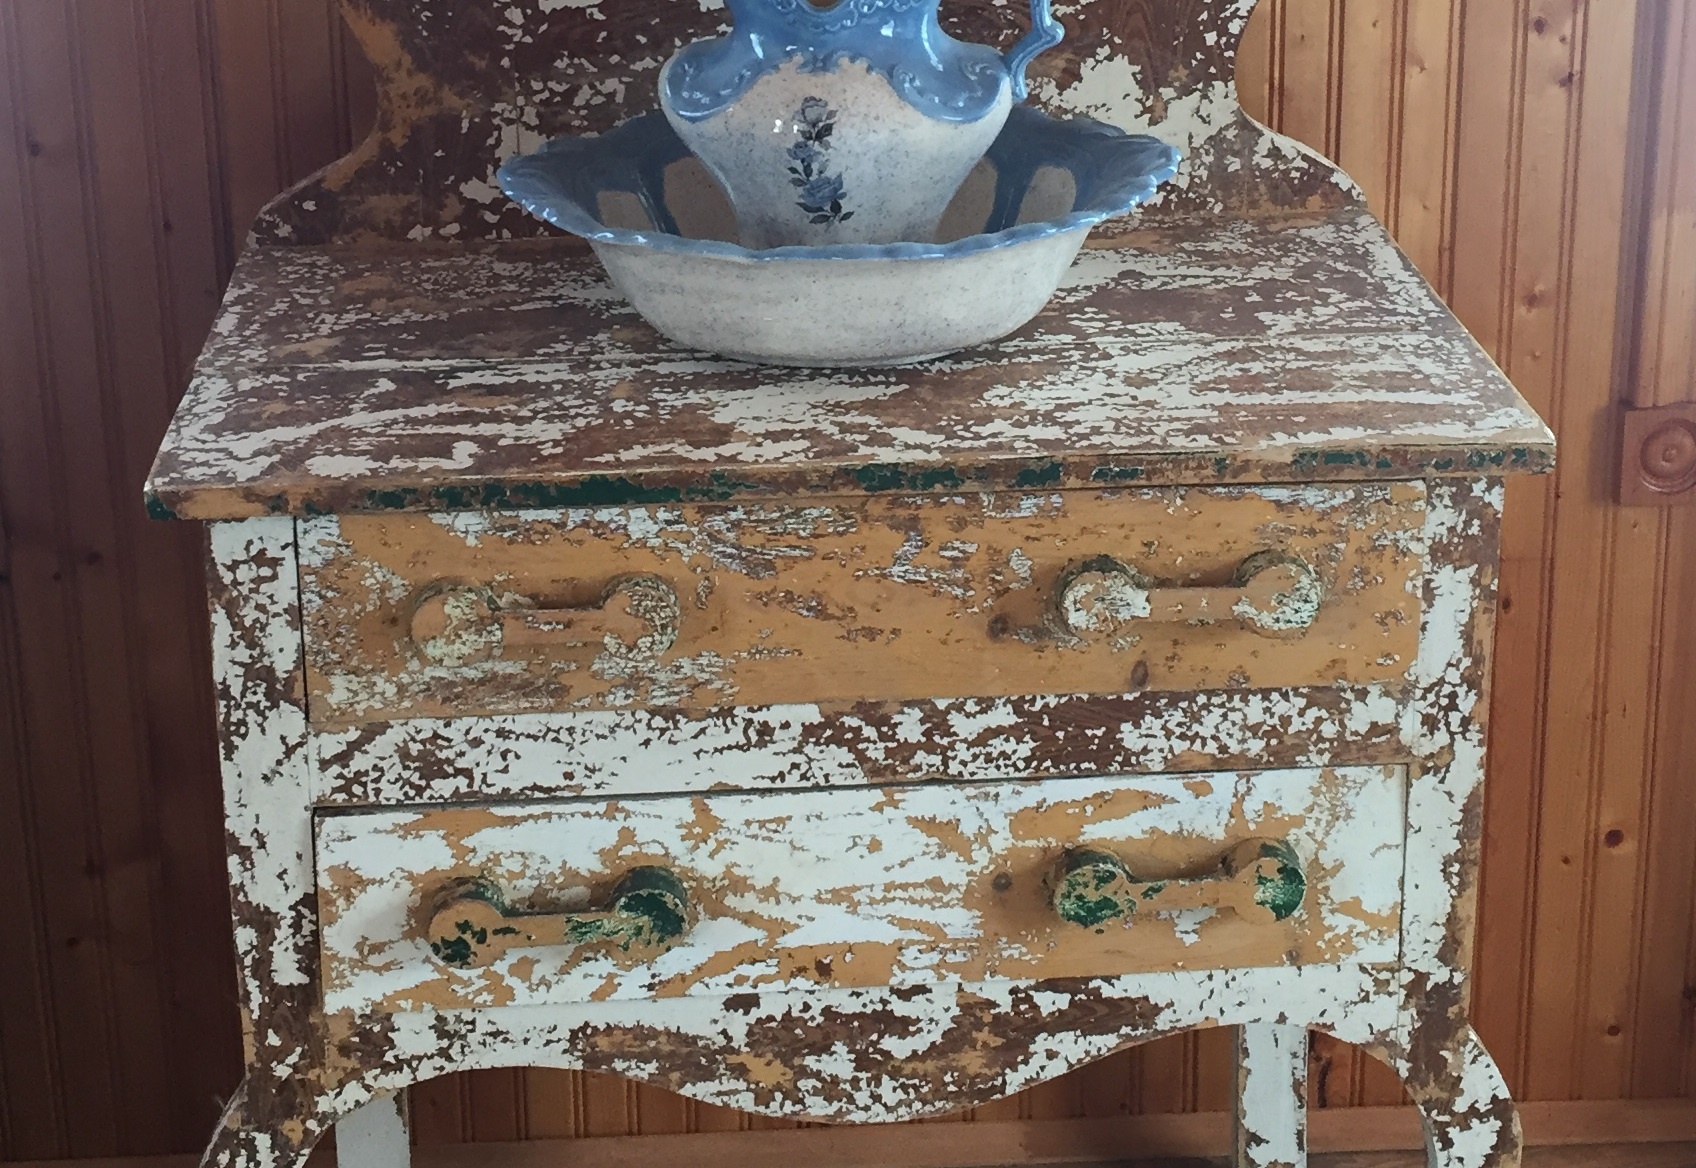
It was a dream come true!!
So we stopped stripping and reclaimed our total failure as a total success!! And it fits perfectly into our home for another generation to enjoy.
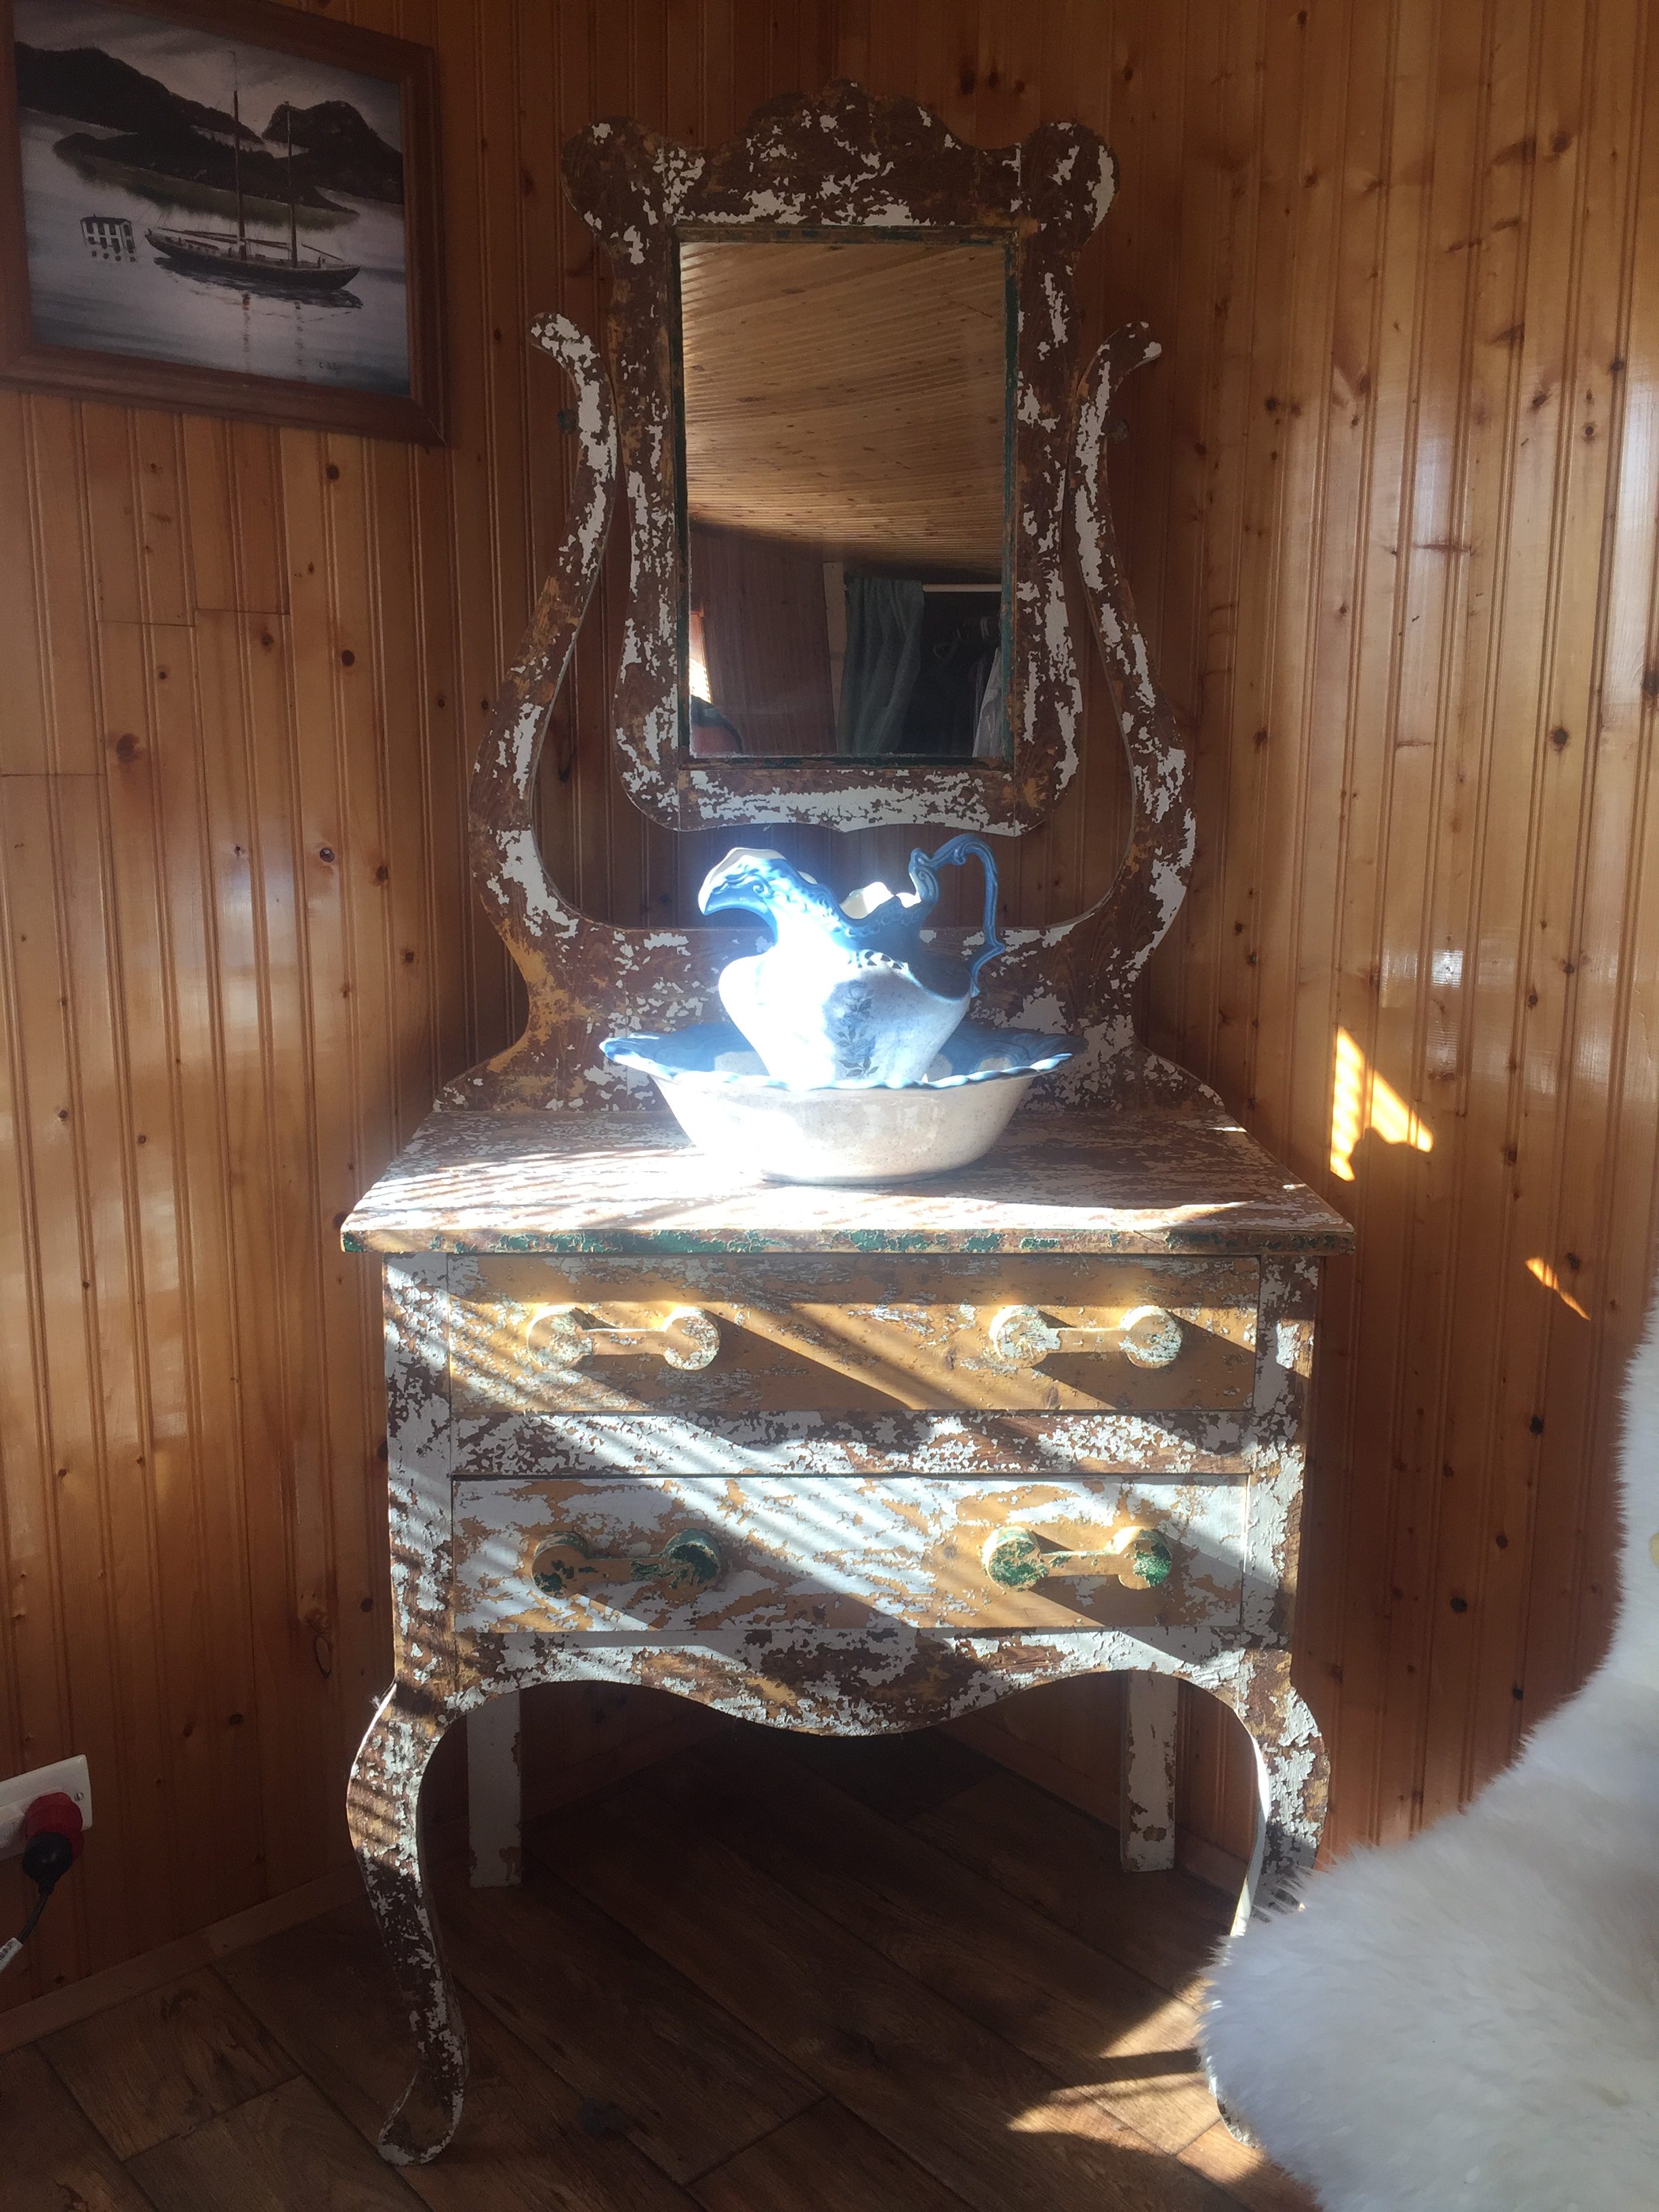
Onwards and upwards to our next project.
What do you guys think? And have you been able to unexpectedly turn any of your DIY failures around? Or maybe you did it right the first time and you kicked ass at it? Let us know.
Until next time be sure to follow us on:
Email – Submit your email in the subscription box
YouTube – Subscribe Here
Instagram – @GaysAroundTheBay
Thanks guys!
Chris & Larry


