So we love beds. We want to live in our bed. And let’s be honest, we would all love to work, right from our bed. Why even leave?
Moral of the story. Getting out of bed suckssss.
So, to make transitioning out of bed easier for our lazy selves, we thought it would be easier (and more socially acceptable) if we could move from our NIGHTIME bed to a DAYTIME bed. Practically as lazy, slightly less socially abhorrent. #winning
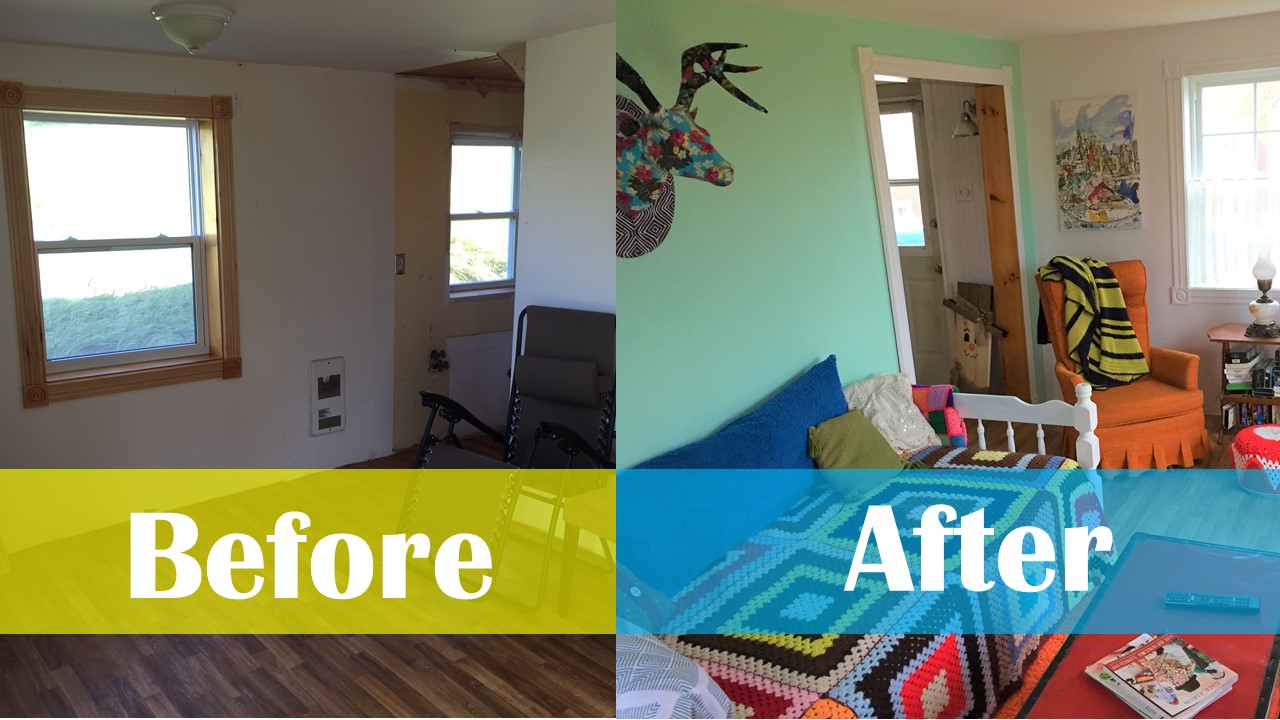
We wanted a daybed for our living room couch. And in living in a tiny house and needing all space to work harder for us, a trundle daybed would also double both as a couch and TWO extra single beds when guests come. Perfect!
But quality trundle daybeds cost upwards of $1,000?
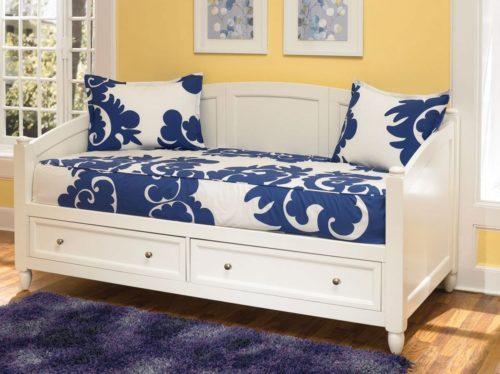
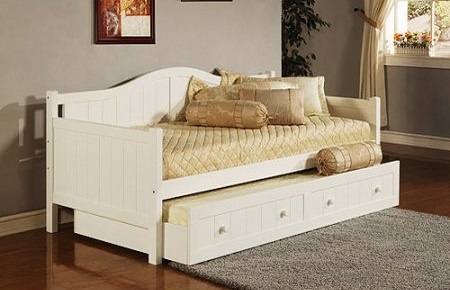
Yah. To the. Nah.
So we made our own, because why pay money for anything?
Here’s how we made, and how you could easily make, your own day bed and save over $1,000.
Step 1. Buy an Old Bed
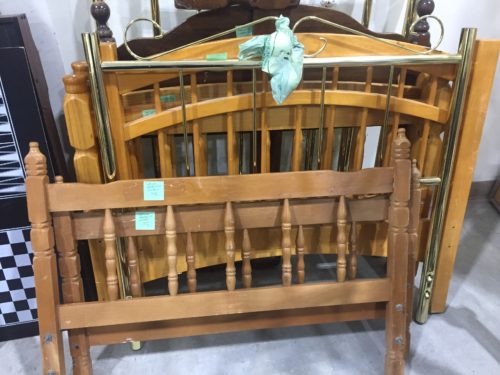
Buy an old single bed frame with head and foot boards in a style you like.
From a second-hand store, they usually have tons of frames for $20 or less. You can buy wood or metal depending on the style you like. We went for wood for the style and so it would be sturdier but the processes of this blog could be changed slightly to accommodate metal instead of wood.
You also want the head and footboard to be the same as these will be the arms of the daybed.
You’ll need two single mattresses too which you may already have around or you can buy them at the second-hand store as well. Still like new and for super cheap. Just be sure to get a strong mattress for your bed top for best comfort in day to day use.
Step 2. Paint the bed
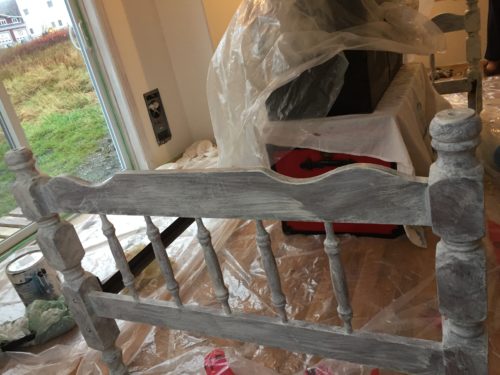
Paint the bed and frame.
Step 3. Build the Back
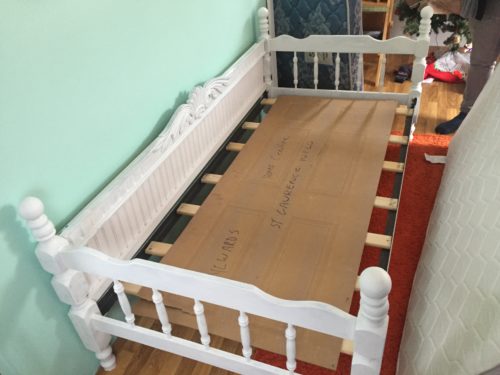
It’s just $15 for a pack of wainscoting boards which is more than enough to cut down and place along a pair of 1x3s. Measure length to attach flush to the back pillars of the head and footboard.
We had a decorative frame piece lying around which we used for the top of the back for a more stylised look. But you could plan a back design in any way you like so feel free to get creative!
Step 4. Assemble and Decorate
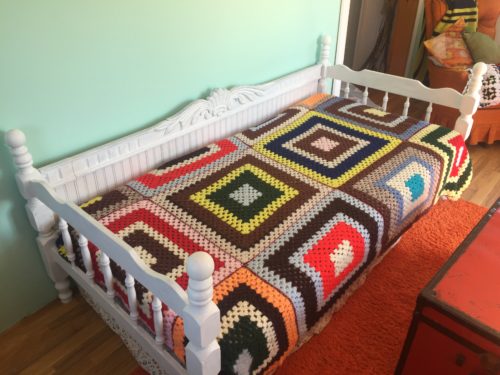
Put it together. Finish any painting or touch-ups. Throw on your old cabin blankets and throw pillows and you’re set! We went a little crazy with crotchet blankets…
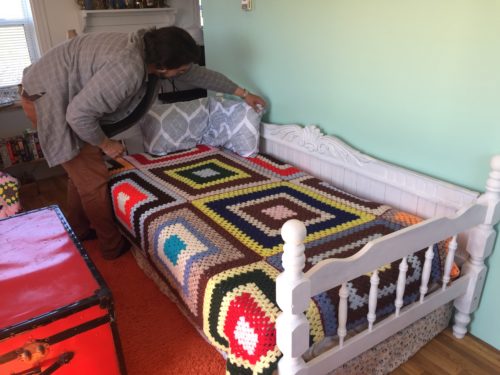
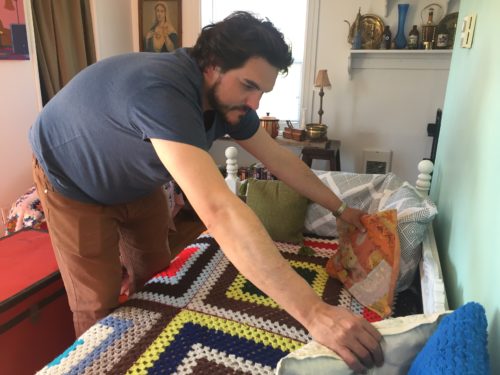
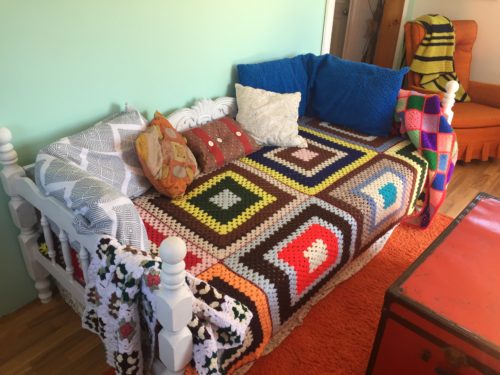
For a different look on the side railings you could also add wainscoting on the inside or outside of the spindles, or completely remove the spindles altogether before adding it in.
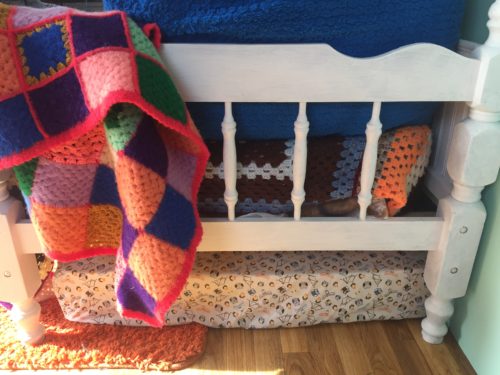
We put the extra mattress under the bed which we can pull out as needed for extra beddage. If you want to get fancy you could also just get a sheet of press board, stick four wheels on it, throw the mattress on top so it’s a perfect roll-away bed.
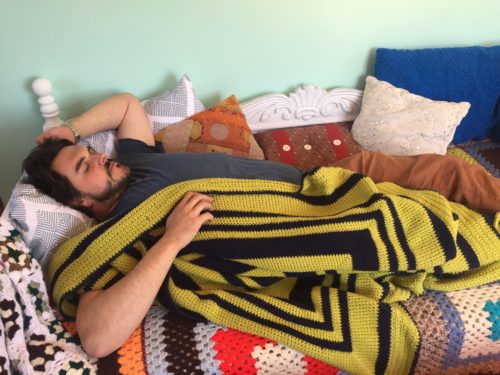
Really makes for fantastic lazy days especially in winter and has been used by many a last-minute guest. Also problem solved to slightly reduce our guilt when day napping. HIGHLY recommended.
But what do you think, how did we do?
Until next time, follow us on:
Email – Submit your email in the subscription box
YouTube – Subscribe Here
Instagram – @GaysAroundTheBay
Best,
Chris & Larry


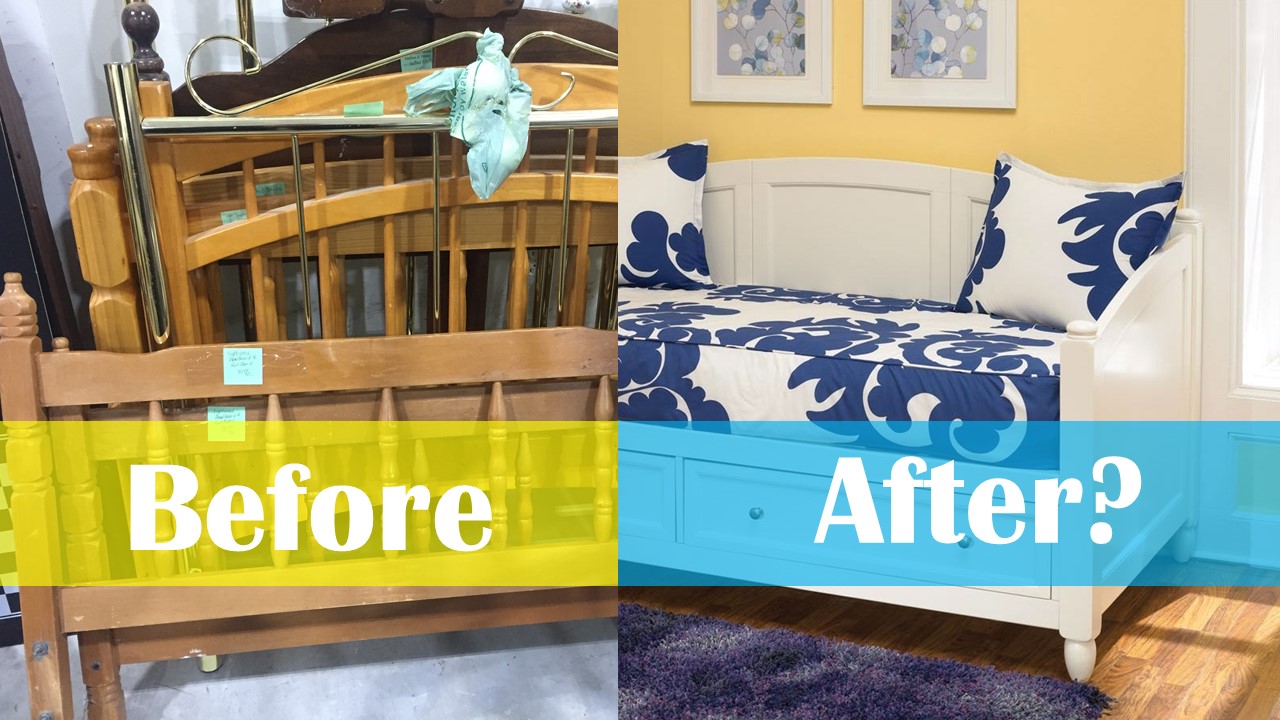



[…] Build this daybed […]
Better than the original guys…
Come visit Amanda! 🙂
Thank you for sharing!
Comments are closed.